When I first visited Versailles some five years ago on my first (ever) solo trip overseas, I arrived in mid-January to a chilling -3 degrees, lifeless and almost gloomy Palace of Versailles. Though I still fell in love with Versailles (who could not!?), I was disappointed not to be able to walk in the grounds and experience the gardens, which are as much an attraction as the interior of the palace itself.
But alas, rewards come to those who wait!
Five years later and I recently found myself on a trip to Versailles with fellow Australian Lisa (The Wandering Lens), on a photographic journey with our sponsor Olympus Australia. For years I have been using Olympus cameras and for years I have been fumbling around the camera’s settings like a kid in a candy store, discovering new ways to photograph better as I keep travelling the world. But when I was offered the chance to meet Lisa, a trained photographer with decades of experience, I couldn’t say no!
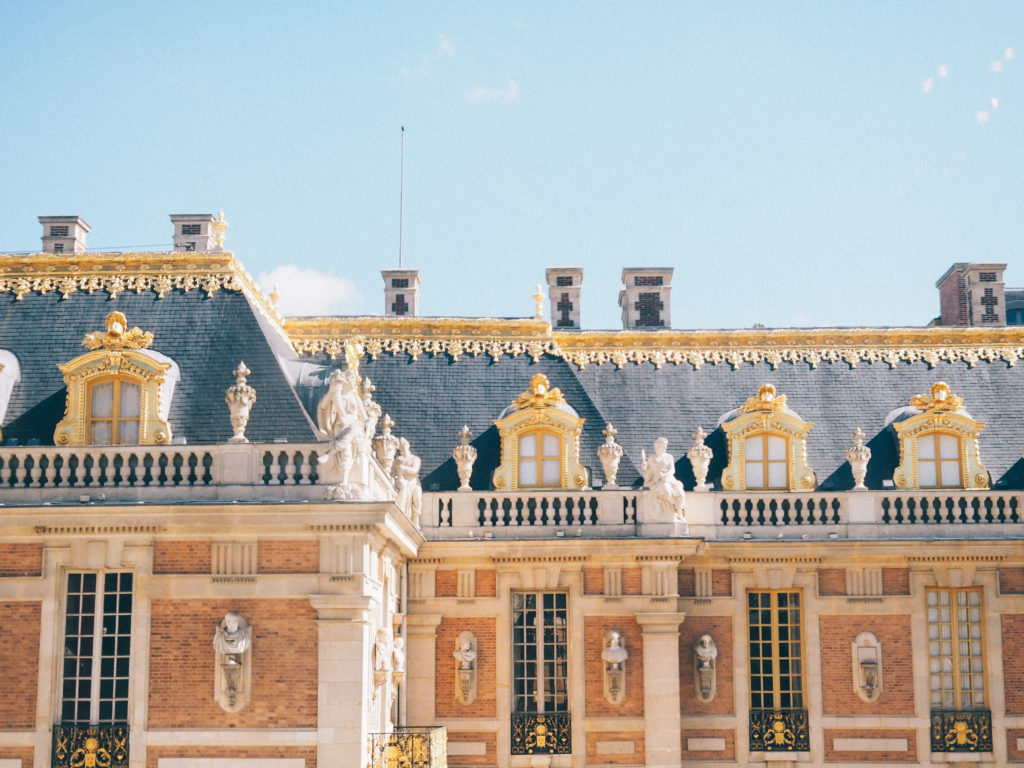
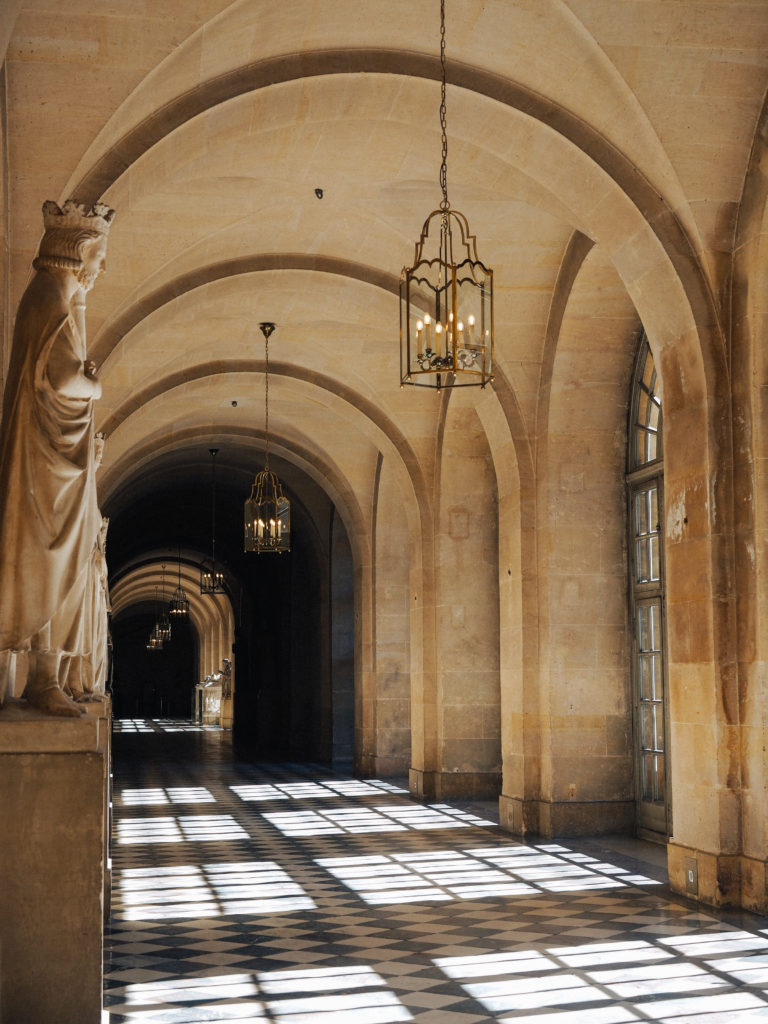
Shooting Indoors vs Shooting Ourdoors
As someone who once shot on “auto mode” (alas, not for the last few years) I feel it is my duty to share some super duper basics when shooting with your camera. Manual mode provides a much higher degree of freedom and creativity, so don’t be scared to give it a go!
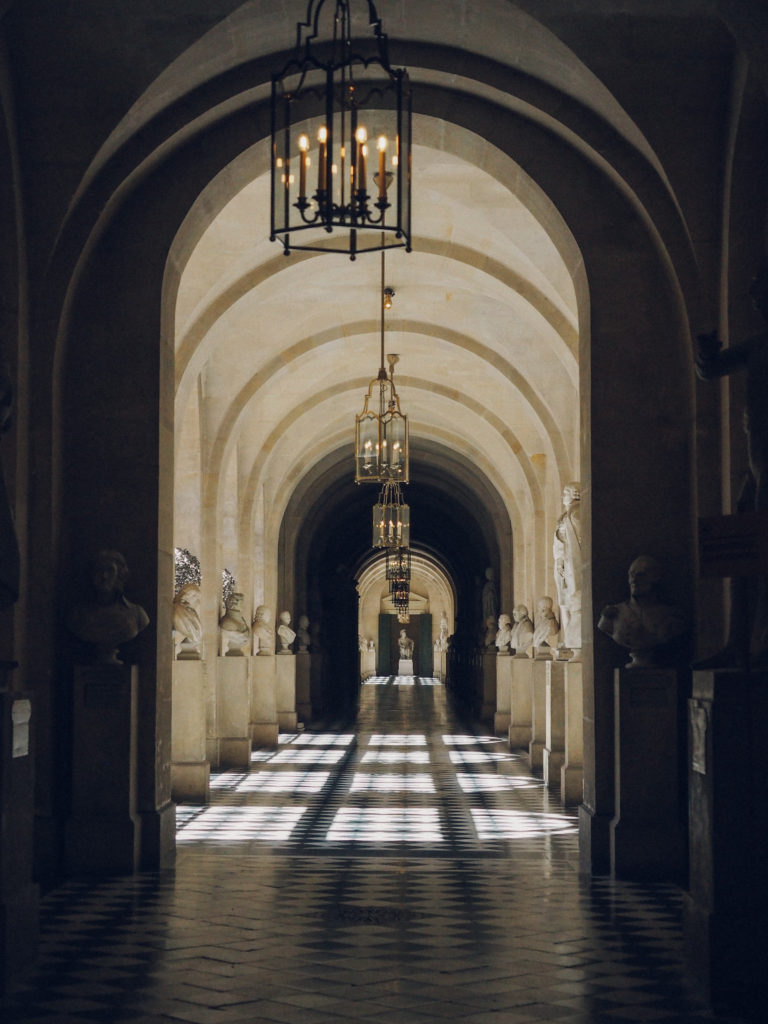
For shooting indoors, Lisa suggests a general rule of thumb: ISO at 800-1600 for interiors and 100-400 for bright sunlight (on my Olympus OMD EM5 Mark II I use the “Low” setting).
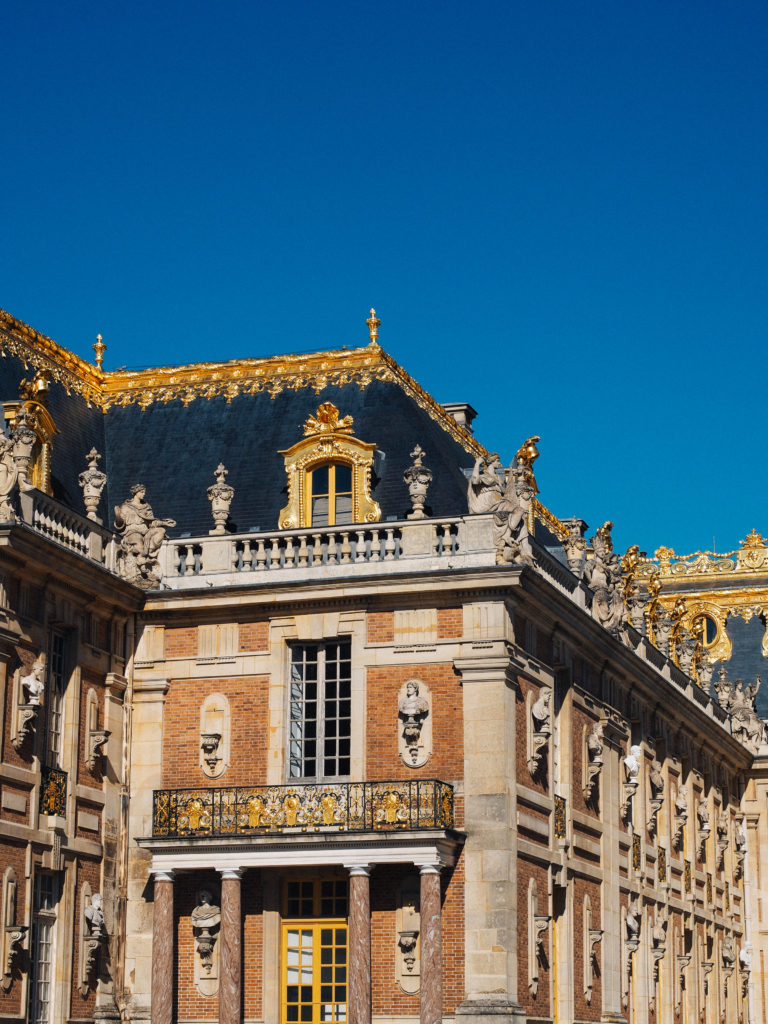
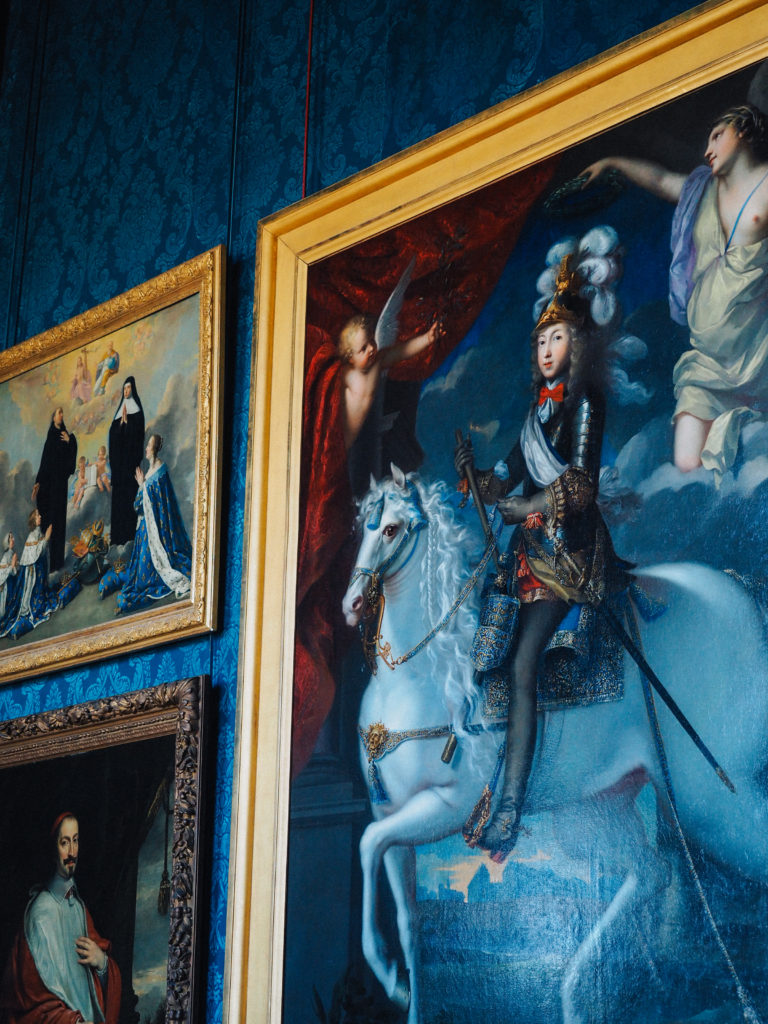
How to Bring out Gold Tones
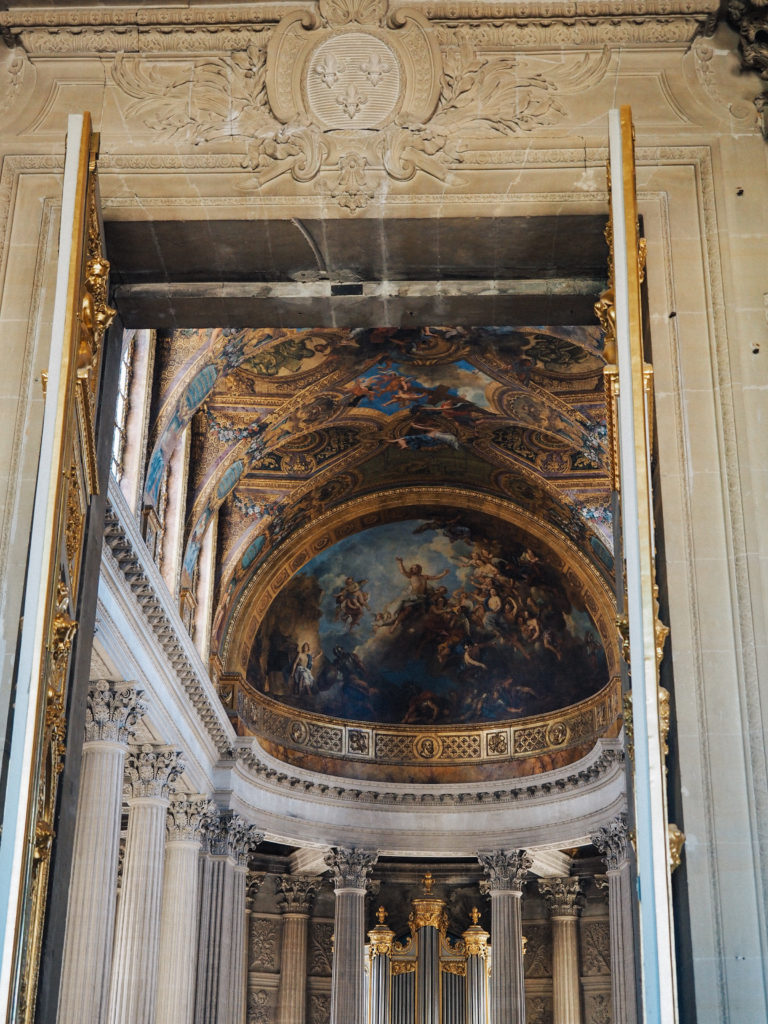
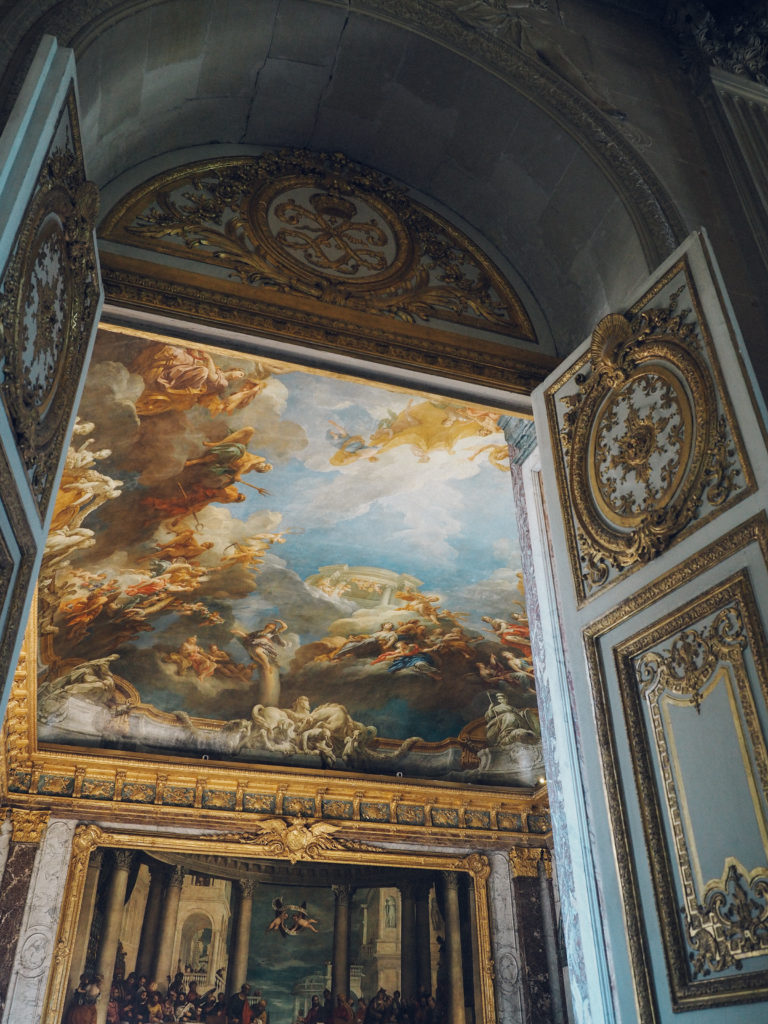
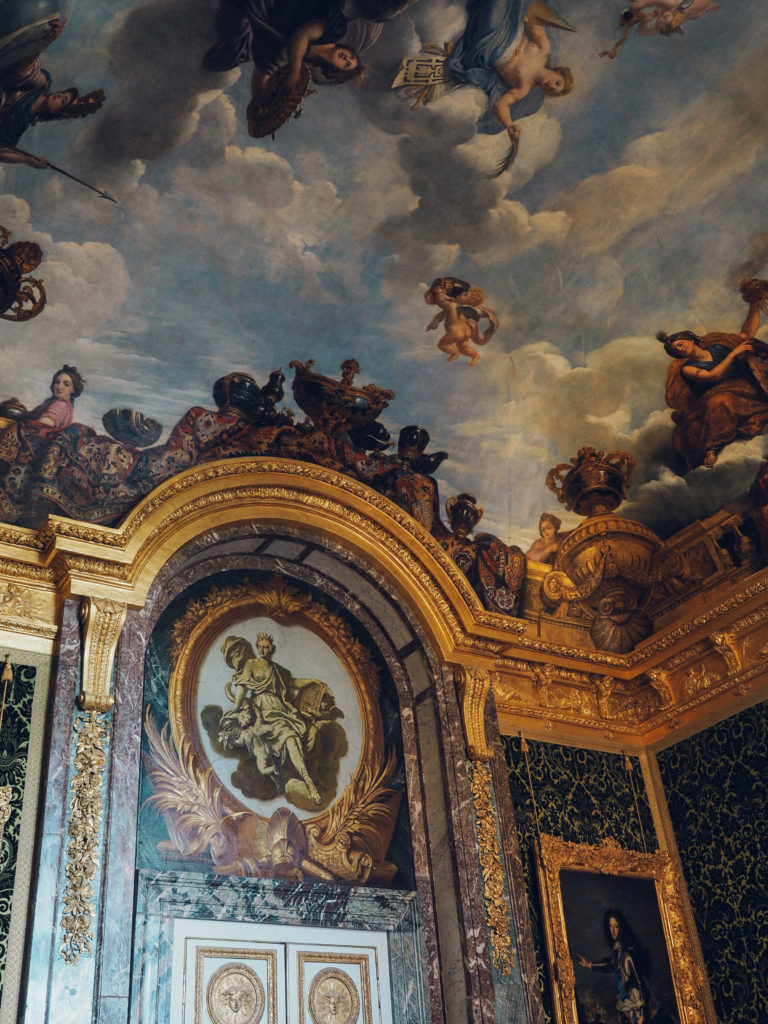
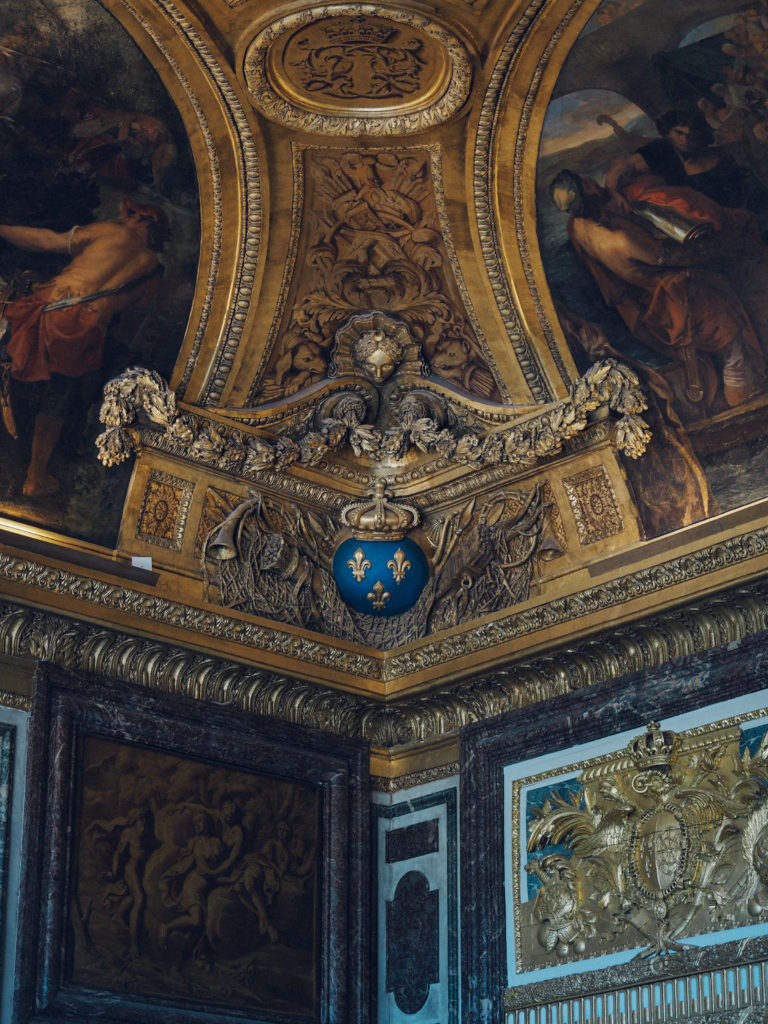
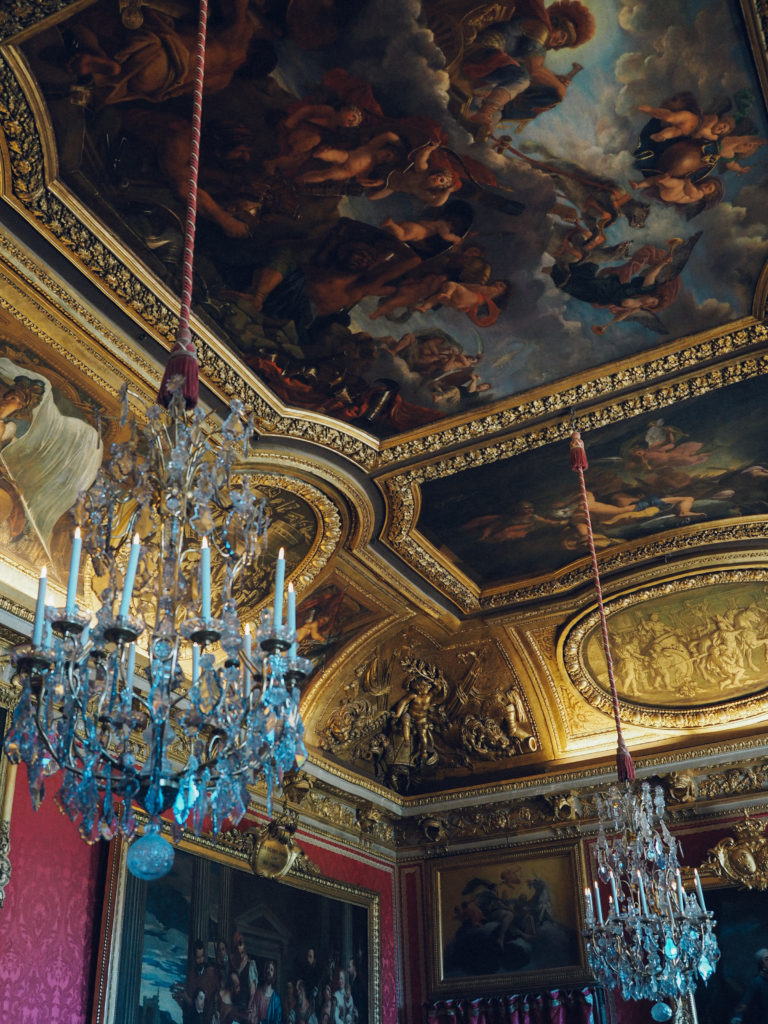
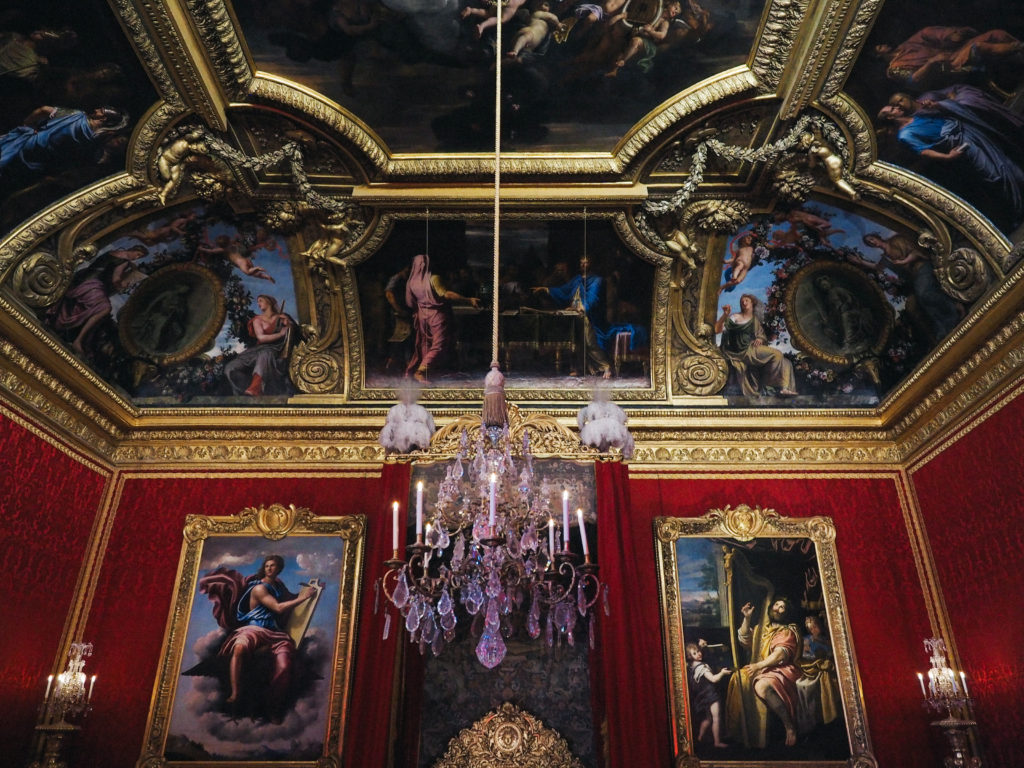
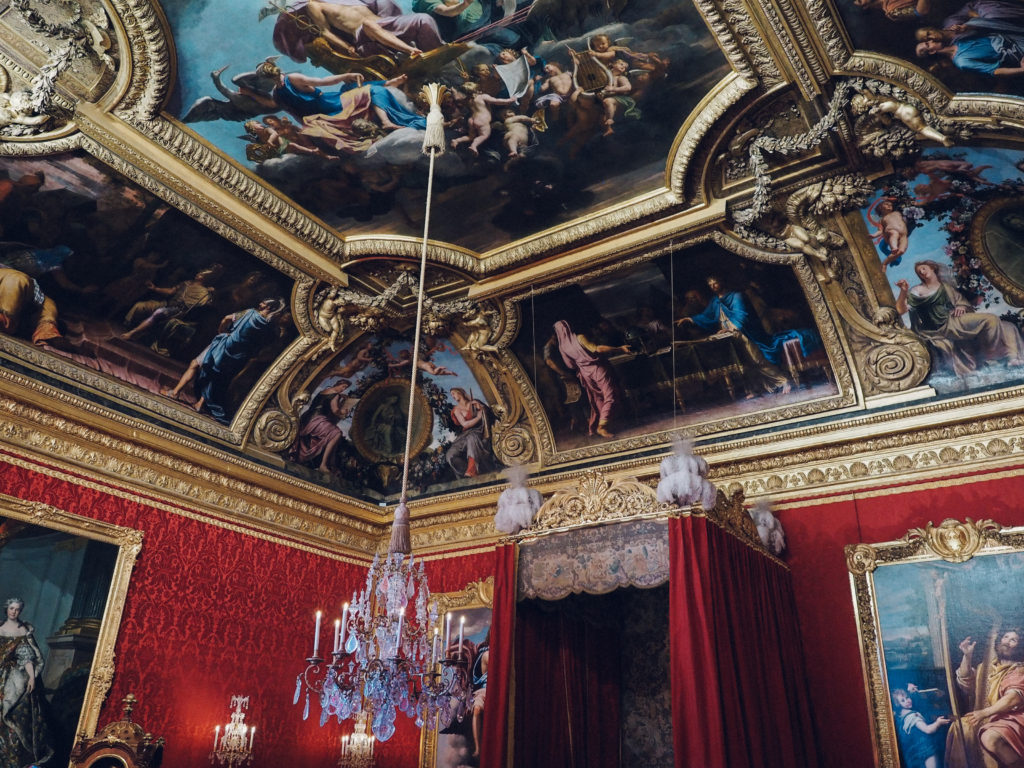
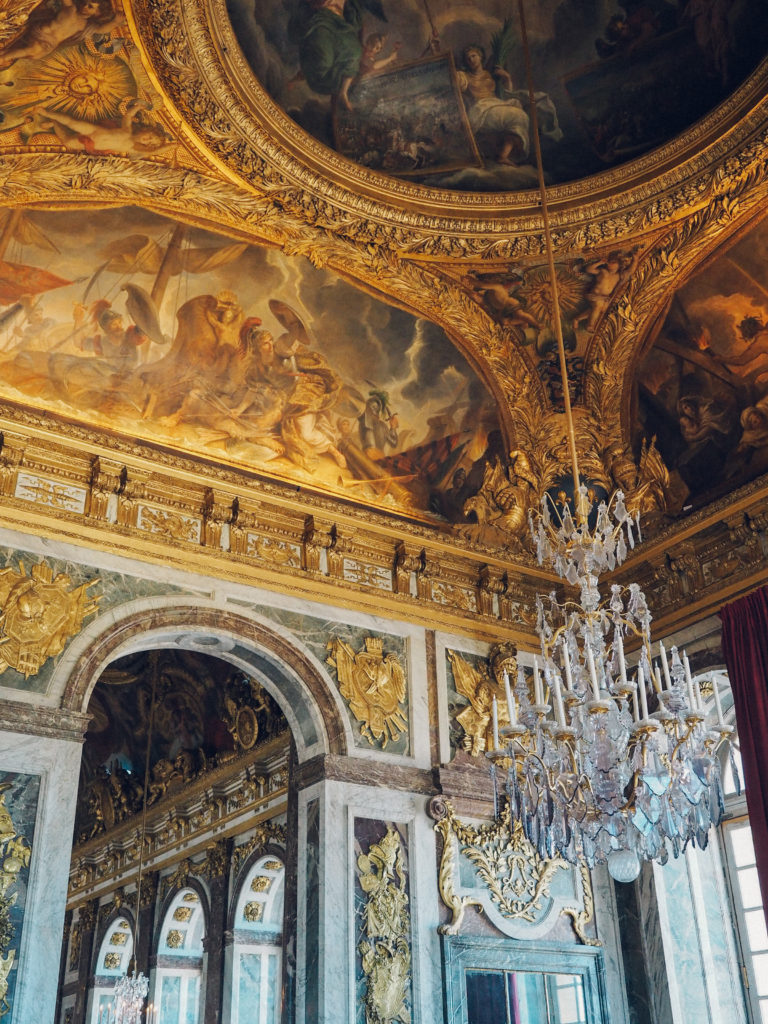
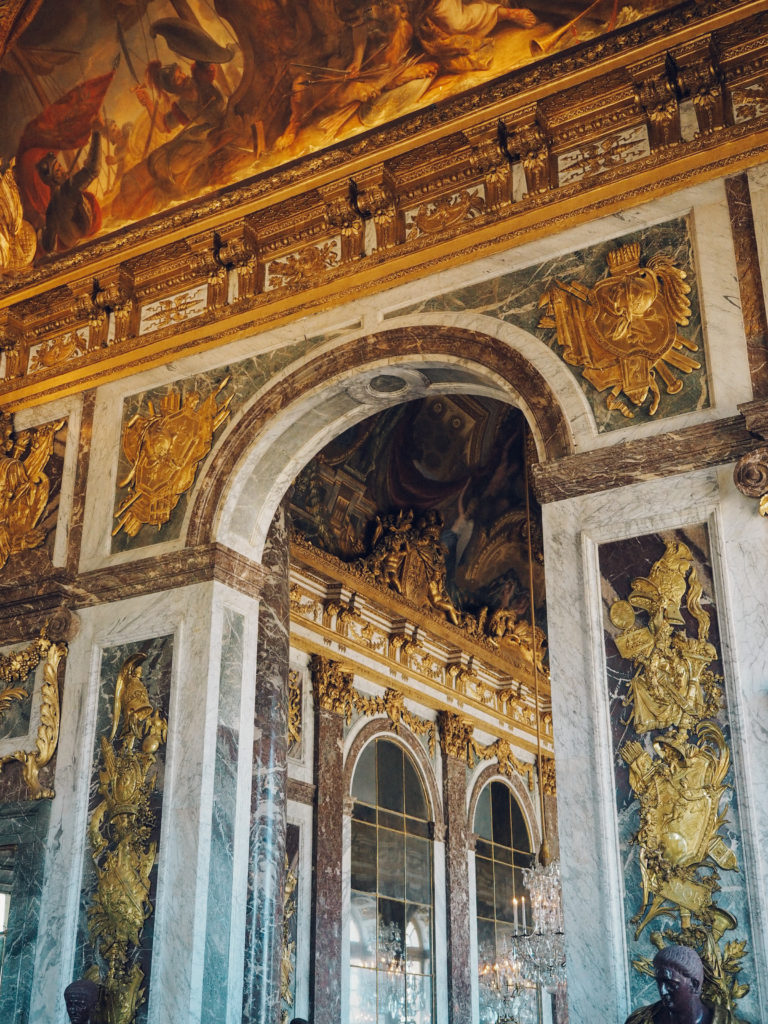
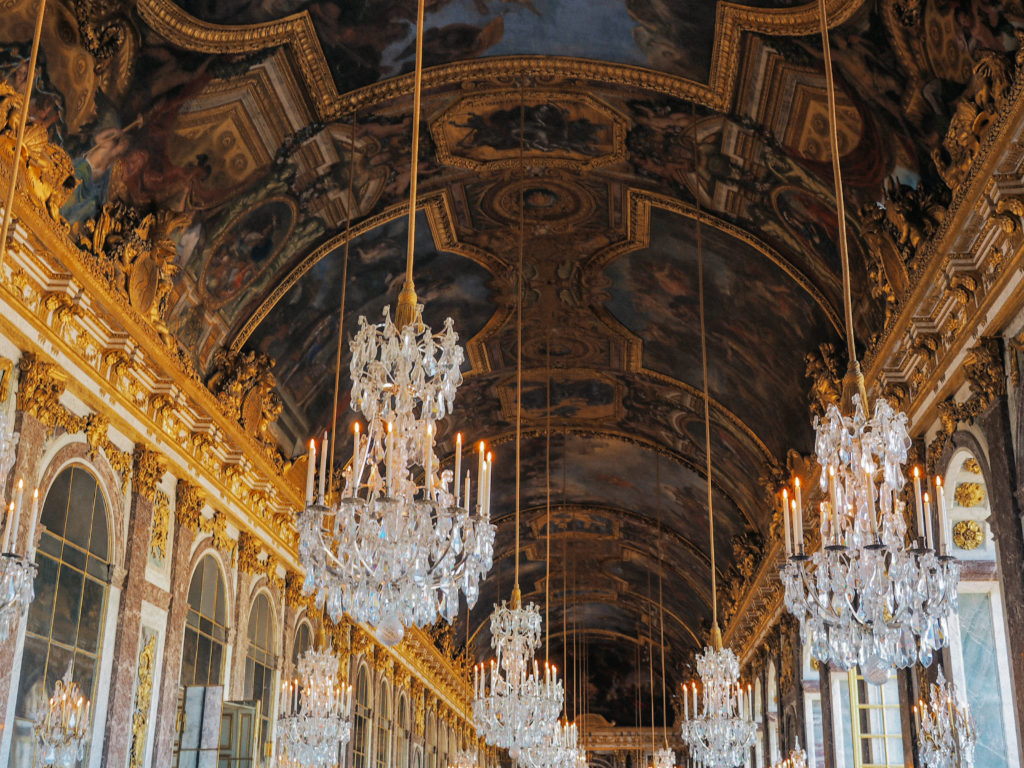
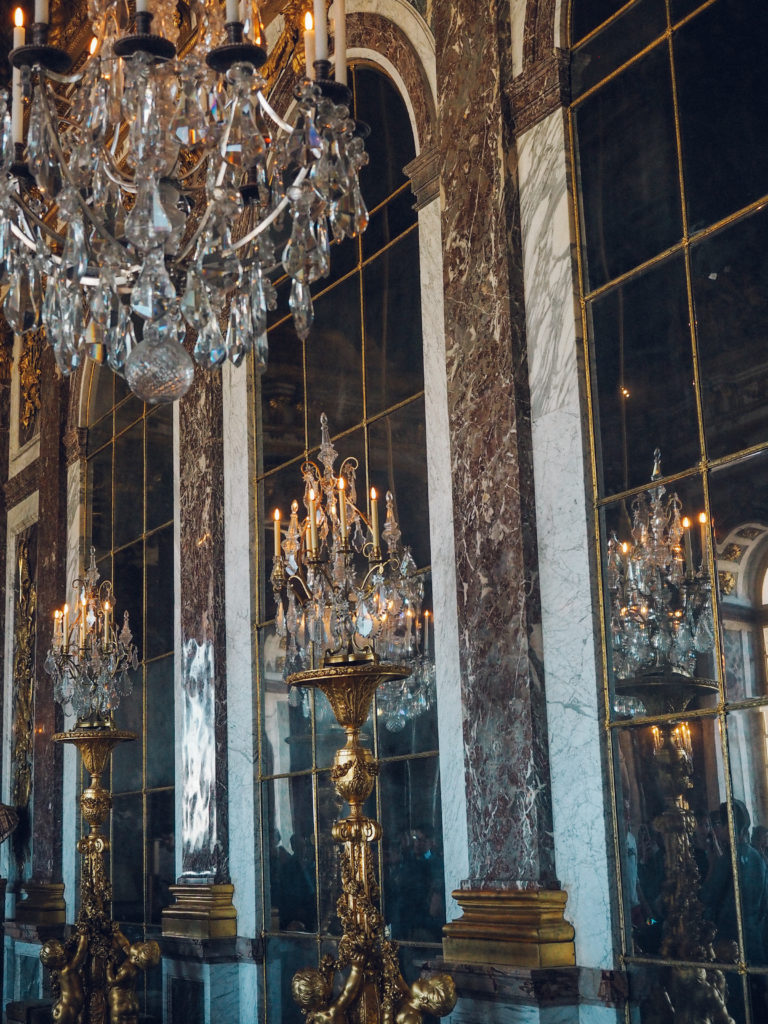
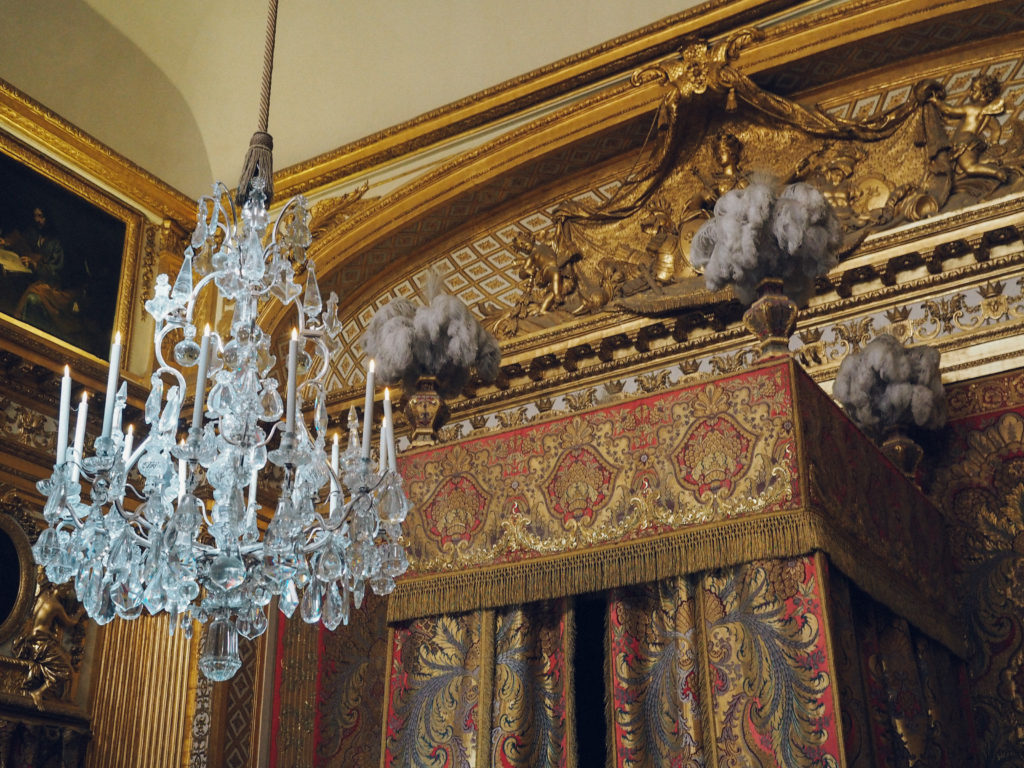
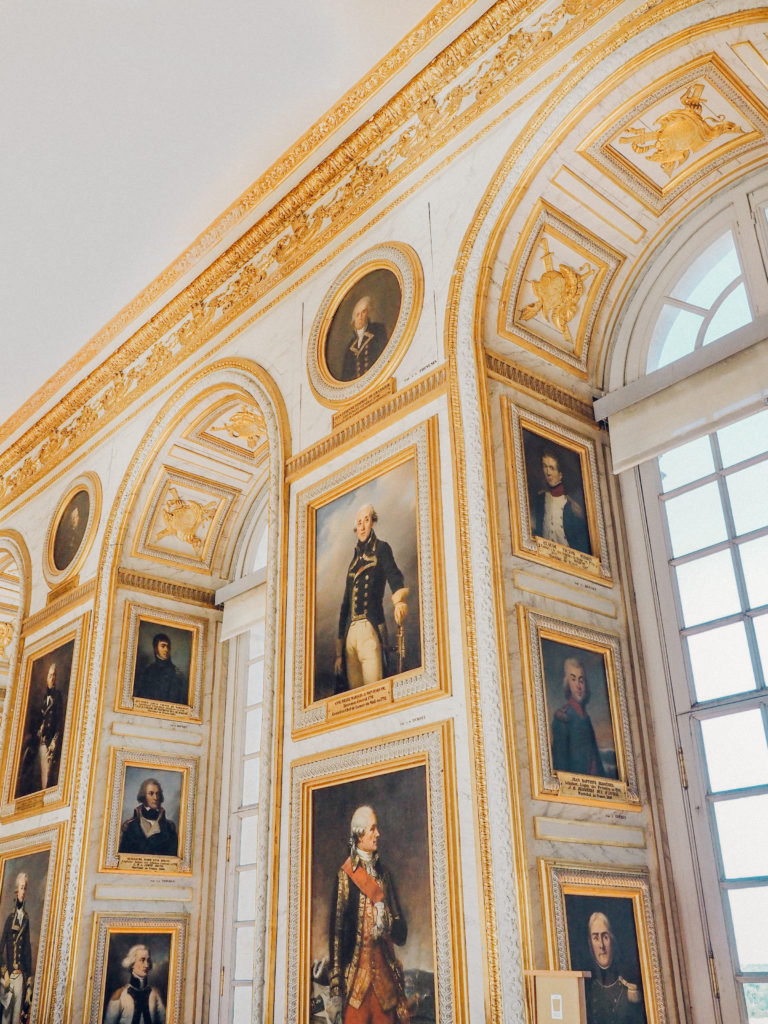
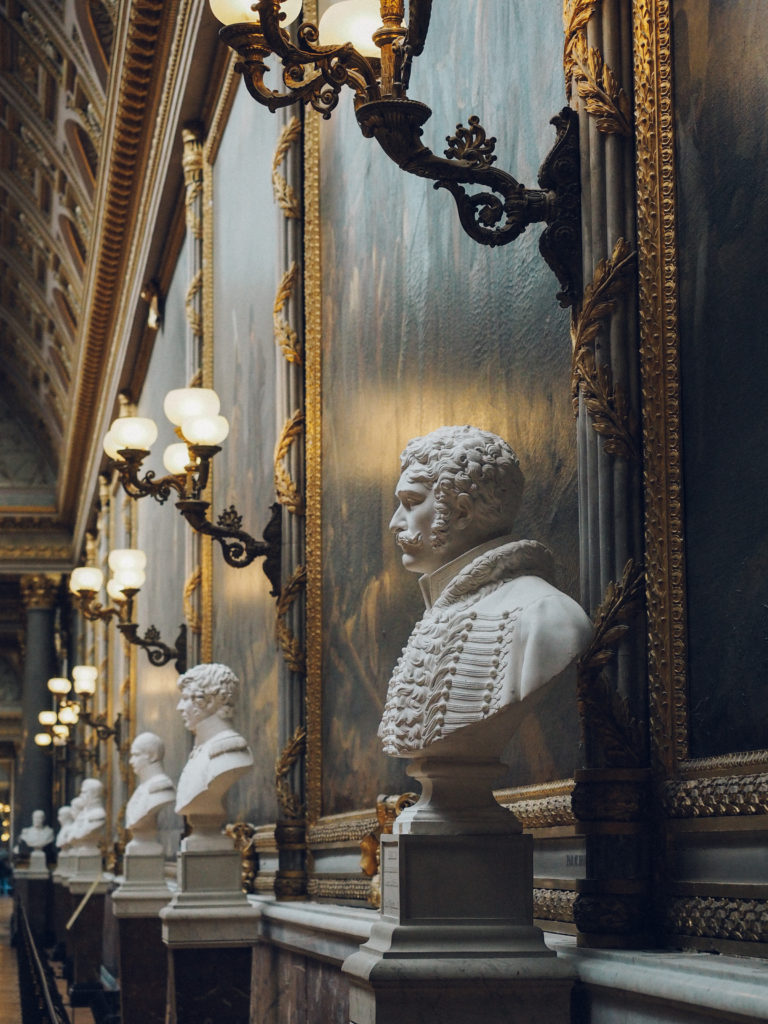
Walking around the Palace I noticed so many beautiful dashes of gold and rich colouring that I wanted to make sure I captured in my photos. I asked Lisa what editing program she uses, to which I was delighted to learn we both use Lightroom! Being a pro, Lisa is also accustomed to Photo Shop, though with lack of time and knowledge I think I’ll stick to small tweaks in Lightroom and if you’re just starting out, I would recommend doing the same.
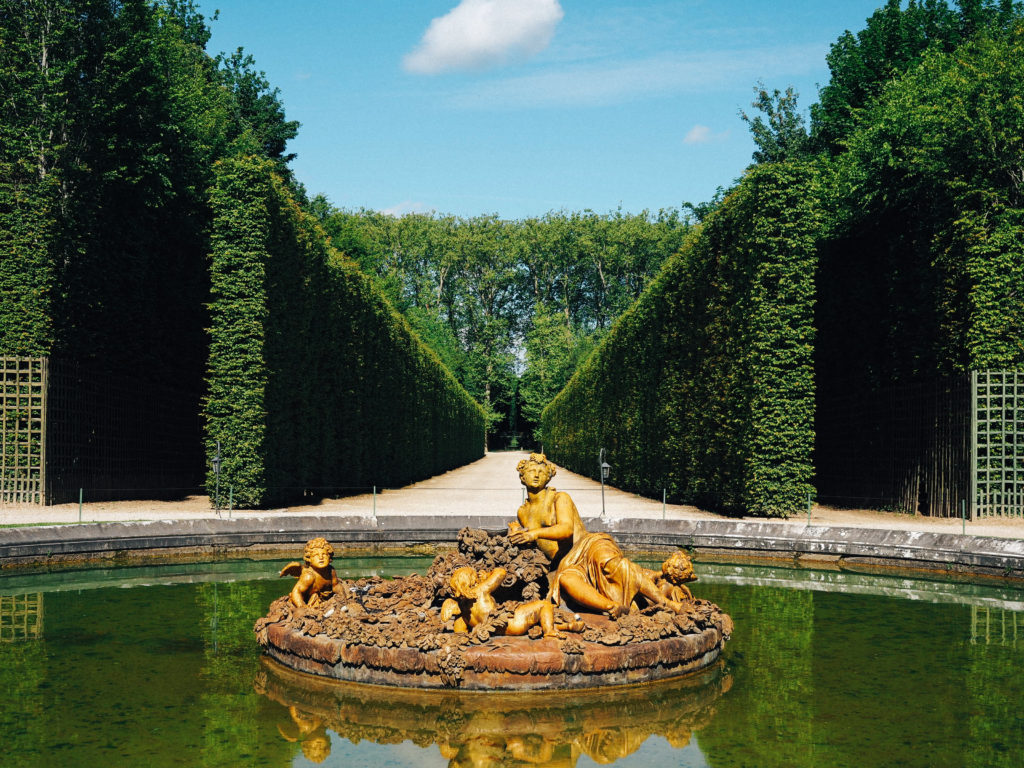
A minor but useful tip Lisa offered on this subject was to alter my white balance to cloudy, which noticeably brings out the gold tones and warms up the image without the need to edit afterwards.
Shooting Close Up Subjects
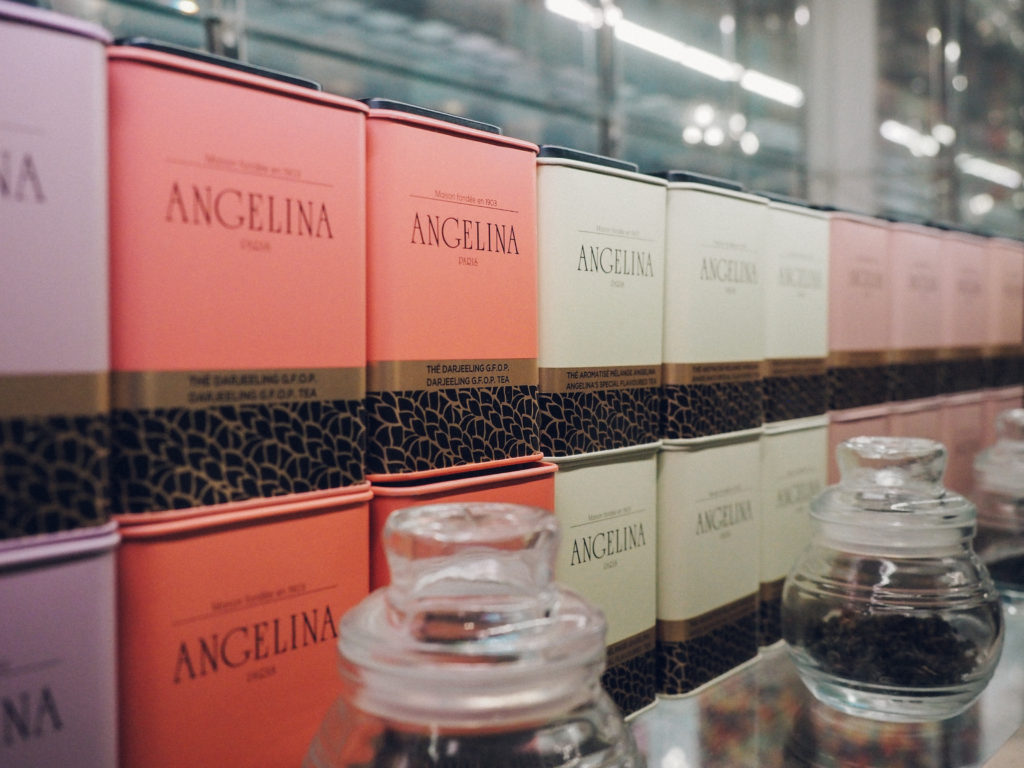
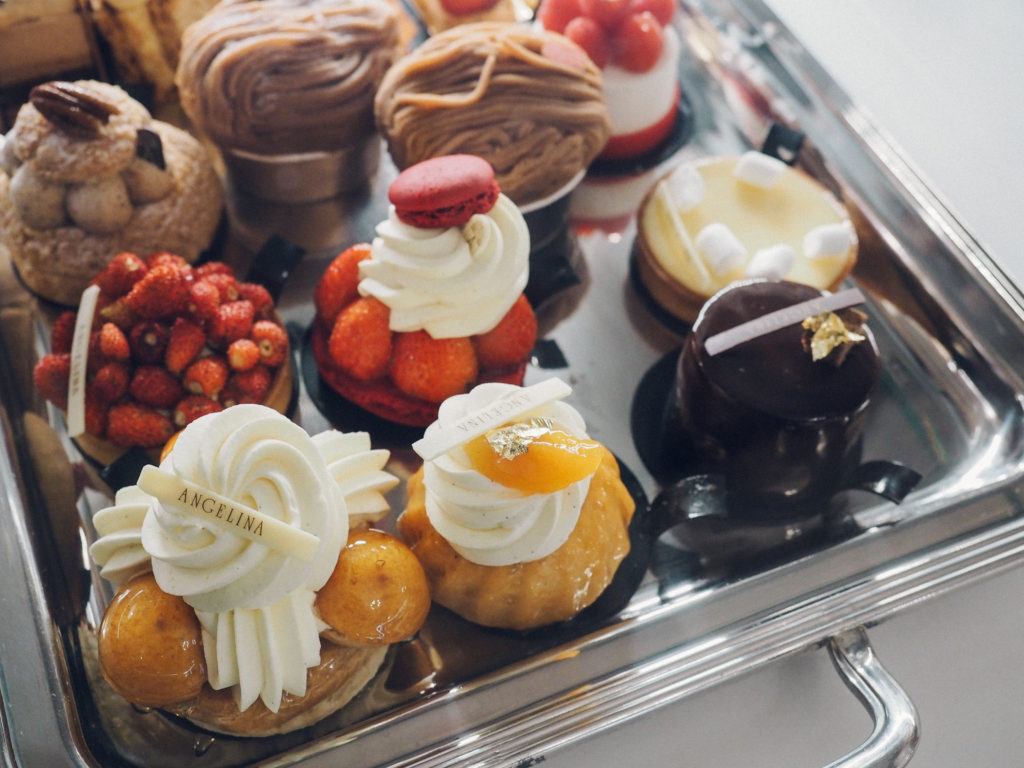
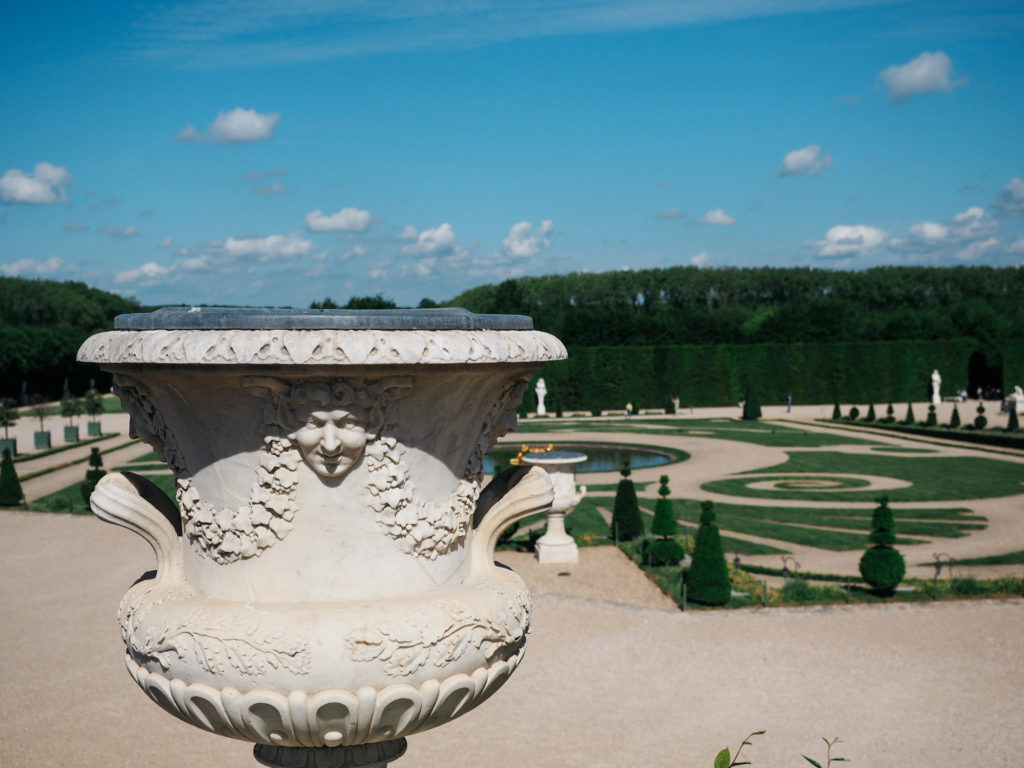
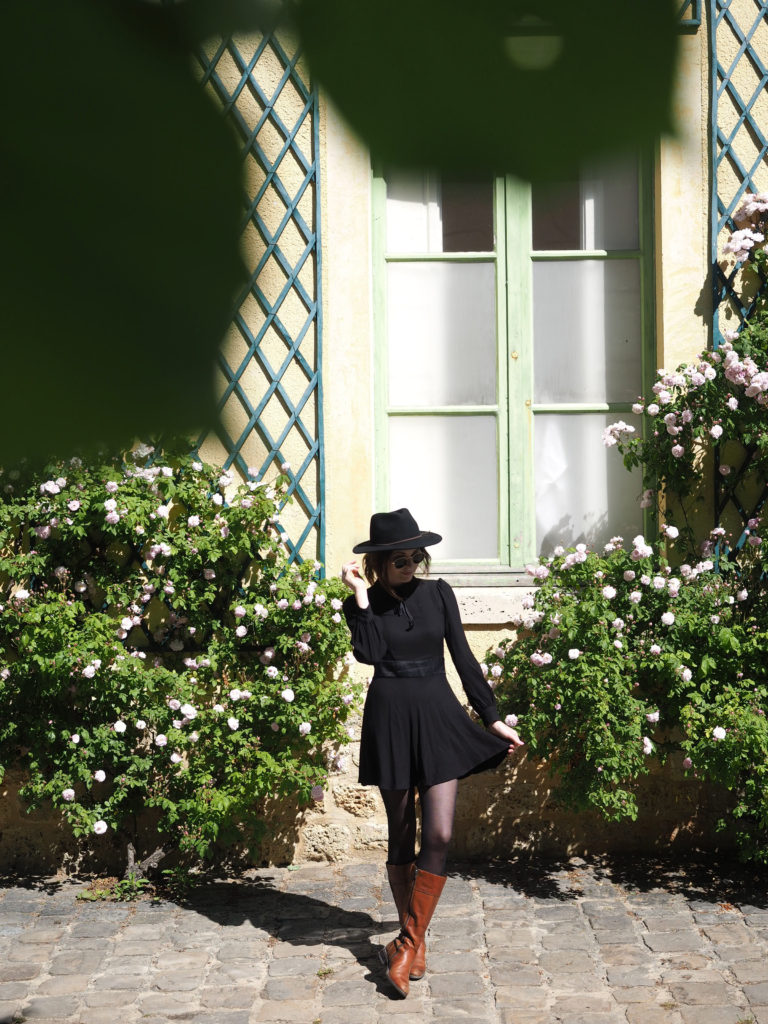
Although both of us use mostly the 12-40mm lens when travelling (its a great all-round lens for every occasion), I recently received the 25mm pro lens to try out and I’ve gotta say… I’m hooked! The 25mm is great for shooting subjects up close (like pastries – I tend to gravitate towards those things) and items like flowers or shooting bokeh effect (blurring out the subjects out of focus).
Shooting Outdoors
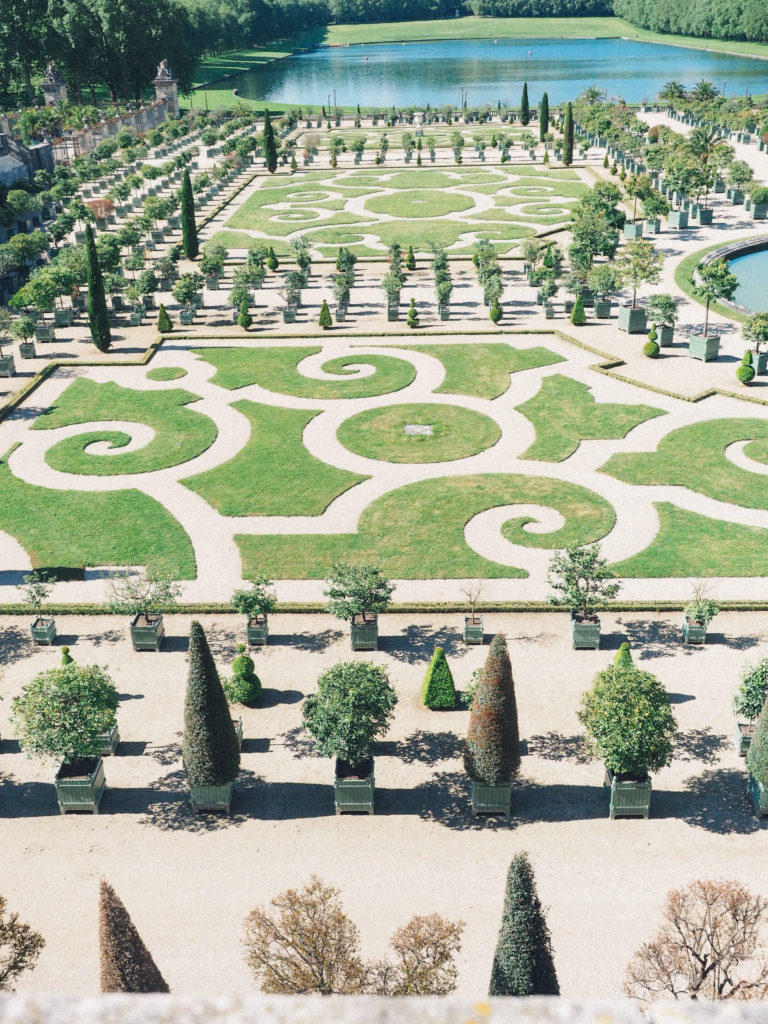
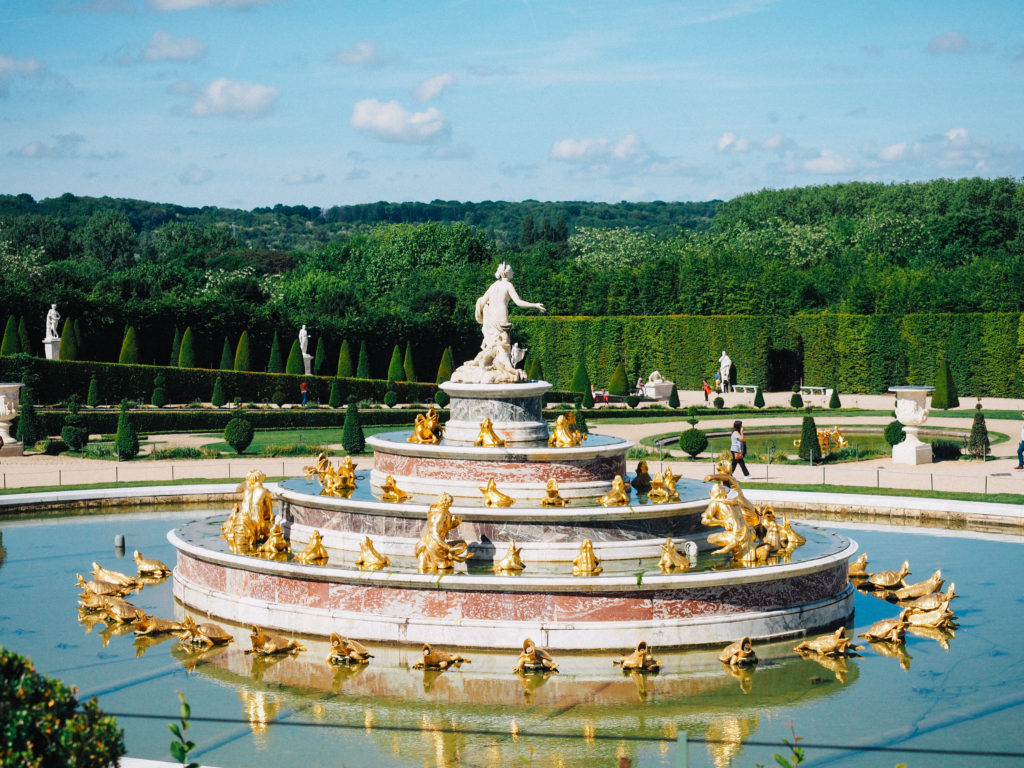
As soon as we made our way to the gardens I flicked my ISO back to “Low” (or the lowest setting on your camera) and let the natural light work its magic. You can also use the front dial on the OMD EM5 Mark II to brighten or darken the image, choosing how much light the lens will let in.
Although I’ve heard many photographers say it is better to shoot the image darker and bright it up in post-processing, Lisa insists it is better to photograph in “the right light”. This was especially important for me as I don’t shoot on RAW images, which still surprises most people but hey, if you can publish a book in pure JPEGs you can do anything!
How to Photograph Sunstars
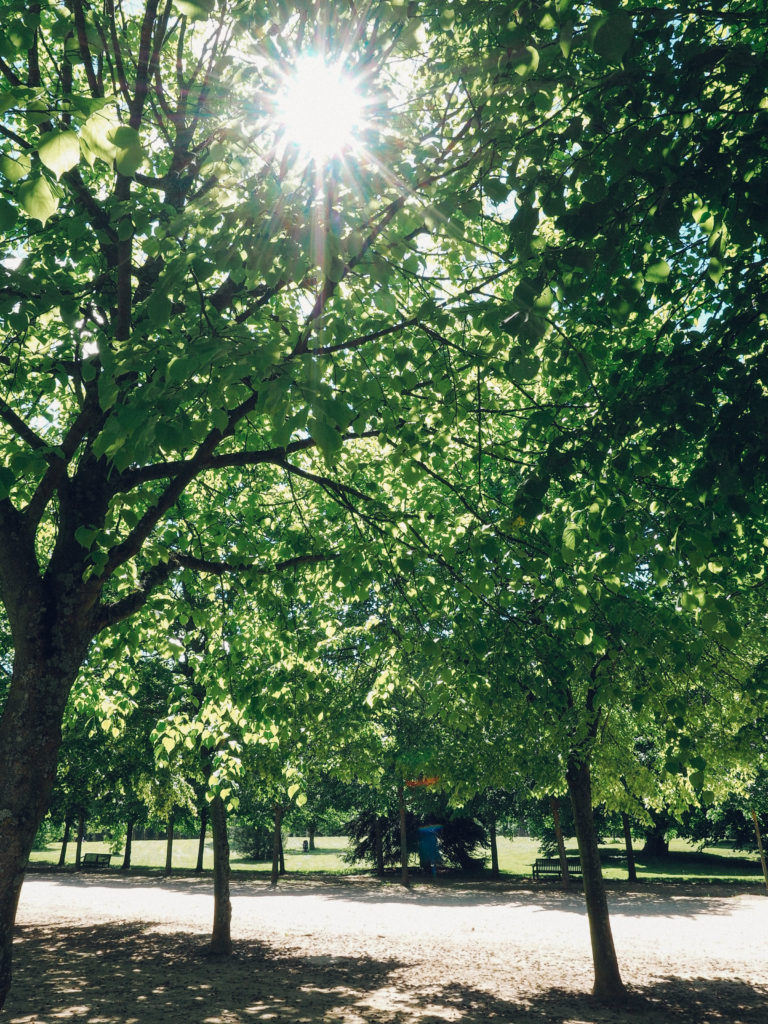
Another handy little trick Lisa pointed out was how to shoot sun stars – capturing the light between the trees and creating a little natural magic!
To shoot sun stars all you need to do is raise your “F stop” to 14 or higher and find the light. Be sure to stand really still!
Camera Gear:
Thanks for dropping by! Interested in the camera gear I use?
I took all of the above images on my Olympus OMD EM5 Mark II. Most images are using my new 25mm PRO lens. Some of the landscape shots were taken with my 12-40mm PRO lens.
I edit my photos with lightroom.
You can find more of my photography tips and tricks here.
Please leave any questions or lovely comments below – I would love to answer any Q’s!

